Getting Started with Real-time Image Processing on Nvidia Jetson AGX Xavier
This tutorial is for those who are new to using Jetson platform, specifically Nvidia AGX Xavier. Nvidia Jetson platforms are embedded systems (can fit on your palm!) known to perform edge computing (high-throughput computing) in real-time with dynamic environments. The application of this piece of hardware is emerging in the field agriculture where certain real-time applications such as, crop scouting (Yang et al., 2020), fruit detection (Mazzia et al., 2016), pruning applications (Mulhollem et al., 2020), etc. are on the rise as these systems are becoming more advanced in handling hefty amount of data for computer vision application. Therefore, I have jotted down some points (very straightforward to get you started) while I was getting started on this hardware to make it more easy and approachable for you without spending weeks if not months to get the system running up!
A novice user can learn the basics of setting up the system (after completely finishing this blog) and further leverage (performing advanced image processing by developing their own scripts on python!) the power of this module in their area of research as well. Till now to this date, Nvidia has released several versions of these modules which differ in amount of RAM size with varying power consumptions. Performance of these systems vary as you spend more money ranging from the Jetson Nano to Xavier. 3 types of series available so far are:
- Jetson Nano series
- Jetson TX1/TX2
- Jetson Xavier series (NX/AGX) — This blog is about this module
Prerequisites before you start:
- You should have a basic understanding of Linux OS
- An understanding of how cv2.capture (an OpenCV library) works
- Basic wokring of image processing concepts such as filtering or thresholding
- Connecting it to a monitor (use an HDMI cable)
I am writing this as a part of this blog because the first time when I used this module, I had no clue what to do. All I thought that the required tools and packages (such as, CUDA, cuDNN, TensorRT, OpenCV) to perform AI on this machine was already installed. You might feel the same when you connect this module with a monitor. An advice here would be: “do not try to use any converters to connect the module with the monitor. It simply supports HDMI to HDMI connection”. If you will try to use any converter, let’s say those blue colored display to HDMI convertors, the screen will not show any display. The first time you connect this display it opens up Ubuntu (Linux based OS, mine was 16.04). You will also need a remote PC which has Linux installed in it. Yes, you need to connect this systems (via USB C to USB) to flash it. This flashing installs all the required packages needed. In short, sdk manager is a GUI which helps you install (via manual selection) all the packages needed to perform computer vision based tasks. Things you’ll need to get started:
- Module (Nano, TX1/TX2/AGX/NX)
- Monitor to connect to the module
- A separate keyboard and a mouse
- An ethernet connection. Just in case if you have a Wifi chip, please install it on Xavier AGX to start wireless connection,
- A remote PC with Linux installed — You’ll need to have the same version of Ubuntu installed on your module as well as remote PC
- An extra set of keyboard and mouse
- Type C to USB to connect it from module to the remote PC
- Flashing it with a Jetpack using sdk manager
- First and foremost, make an account on Nvidia Developer (https://developer.nvidia.com/) and download sdk manager (*.deb) in your downloads folder in the remote PC. Once done, open the terminal and cd to downloads. Type this after that: Step 01— ->
sudo apt install ./sdkmanager_[version].[build#].deb (you can simply copy paste the file name you just downloaded)
Once installed, type, sdkmanager. Login in with your ID and password (remember I asked you to make an account before!)
- You’ll see a GUI which looks like this (fig 1). You can select whichever Target Hardware you are planning to use for your work and make sure that your sdk manager already detects that there’s a Jetson machine attached with your remote PC. You can select the latest Linux Jetpack if you want. Continue to Step 02 — ->
- Step 02 is the meat of the whole installation. This is where all the required packages, libraries, tools, such as, CUDA, TensorRT, cuDNN, Computer Vision, and Developer Tools gets installed. Install it in your desired directory/location if you want.
- Installation takes about 1/2hr to 40min depending on your internet speed. If failed in the middle, retry it. If that doesn’t work either, try to start everything from the beginning.
- Once you see this screen (left), put your username and password, and Flash it! Once your Jetson module is flashed successfully, your Jetson will reboot asking you to enter your username and password again. Do it! Now after this step, you don’t need the remote PC.
Downloading GithHub Repositories and installing OpenCV Jetson Hacks (https://www.jetsonhacks.com/) does some cool stuff on this platform. Migrate to his repositories on his GitHub page to explore more if you like.
Since we are more inclined to use OpenCV for real-time applications, let us install OpenCV from the source so you can configure GStreamer (https://gstreamer.freedesktop.org/) support which supports the external (maybe USB webcam or Raspberry Pi cam) camera for real-time applications. Also, Xavier AGX Jetson board comes with different mode for you to select, such as, 10W, 15W, 30W, etc. These modes deliver different power to perform high throughput applications based on demanding tasks. For more, see this (https://www.jetsonhacks.com/2018/10/07/nvpmodel-nvidia-jetson-agx-xavier-developer-kit/). cd to the folder where you would like to install all the dependencies related to OpenCV. Make sure you have enough space in the drive! Follow these:
$git clone https://github.com/jetsonhacks/buildOpenCVXavier (I am using this one since I am using AGX Xavier) Switch to the downloaded repository:
``` Using Linux terminal
cd buildOpenCVXavier```
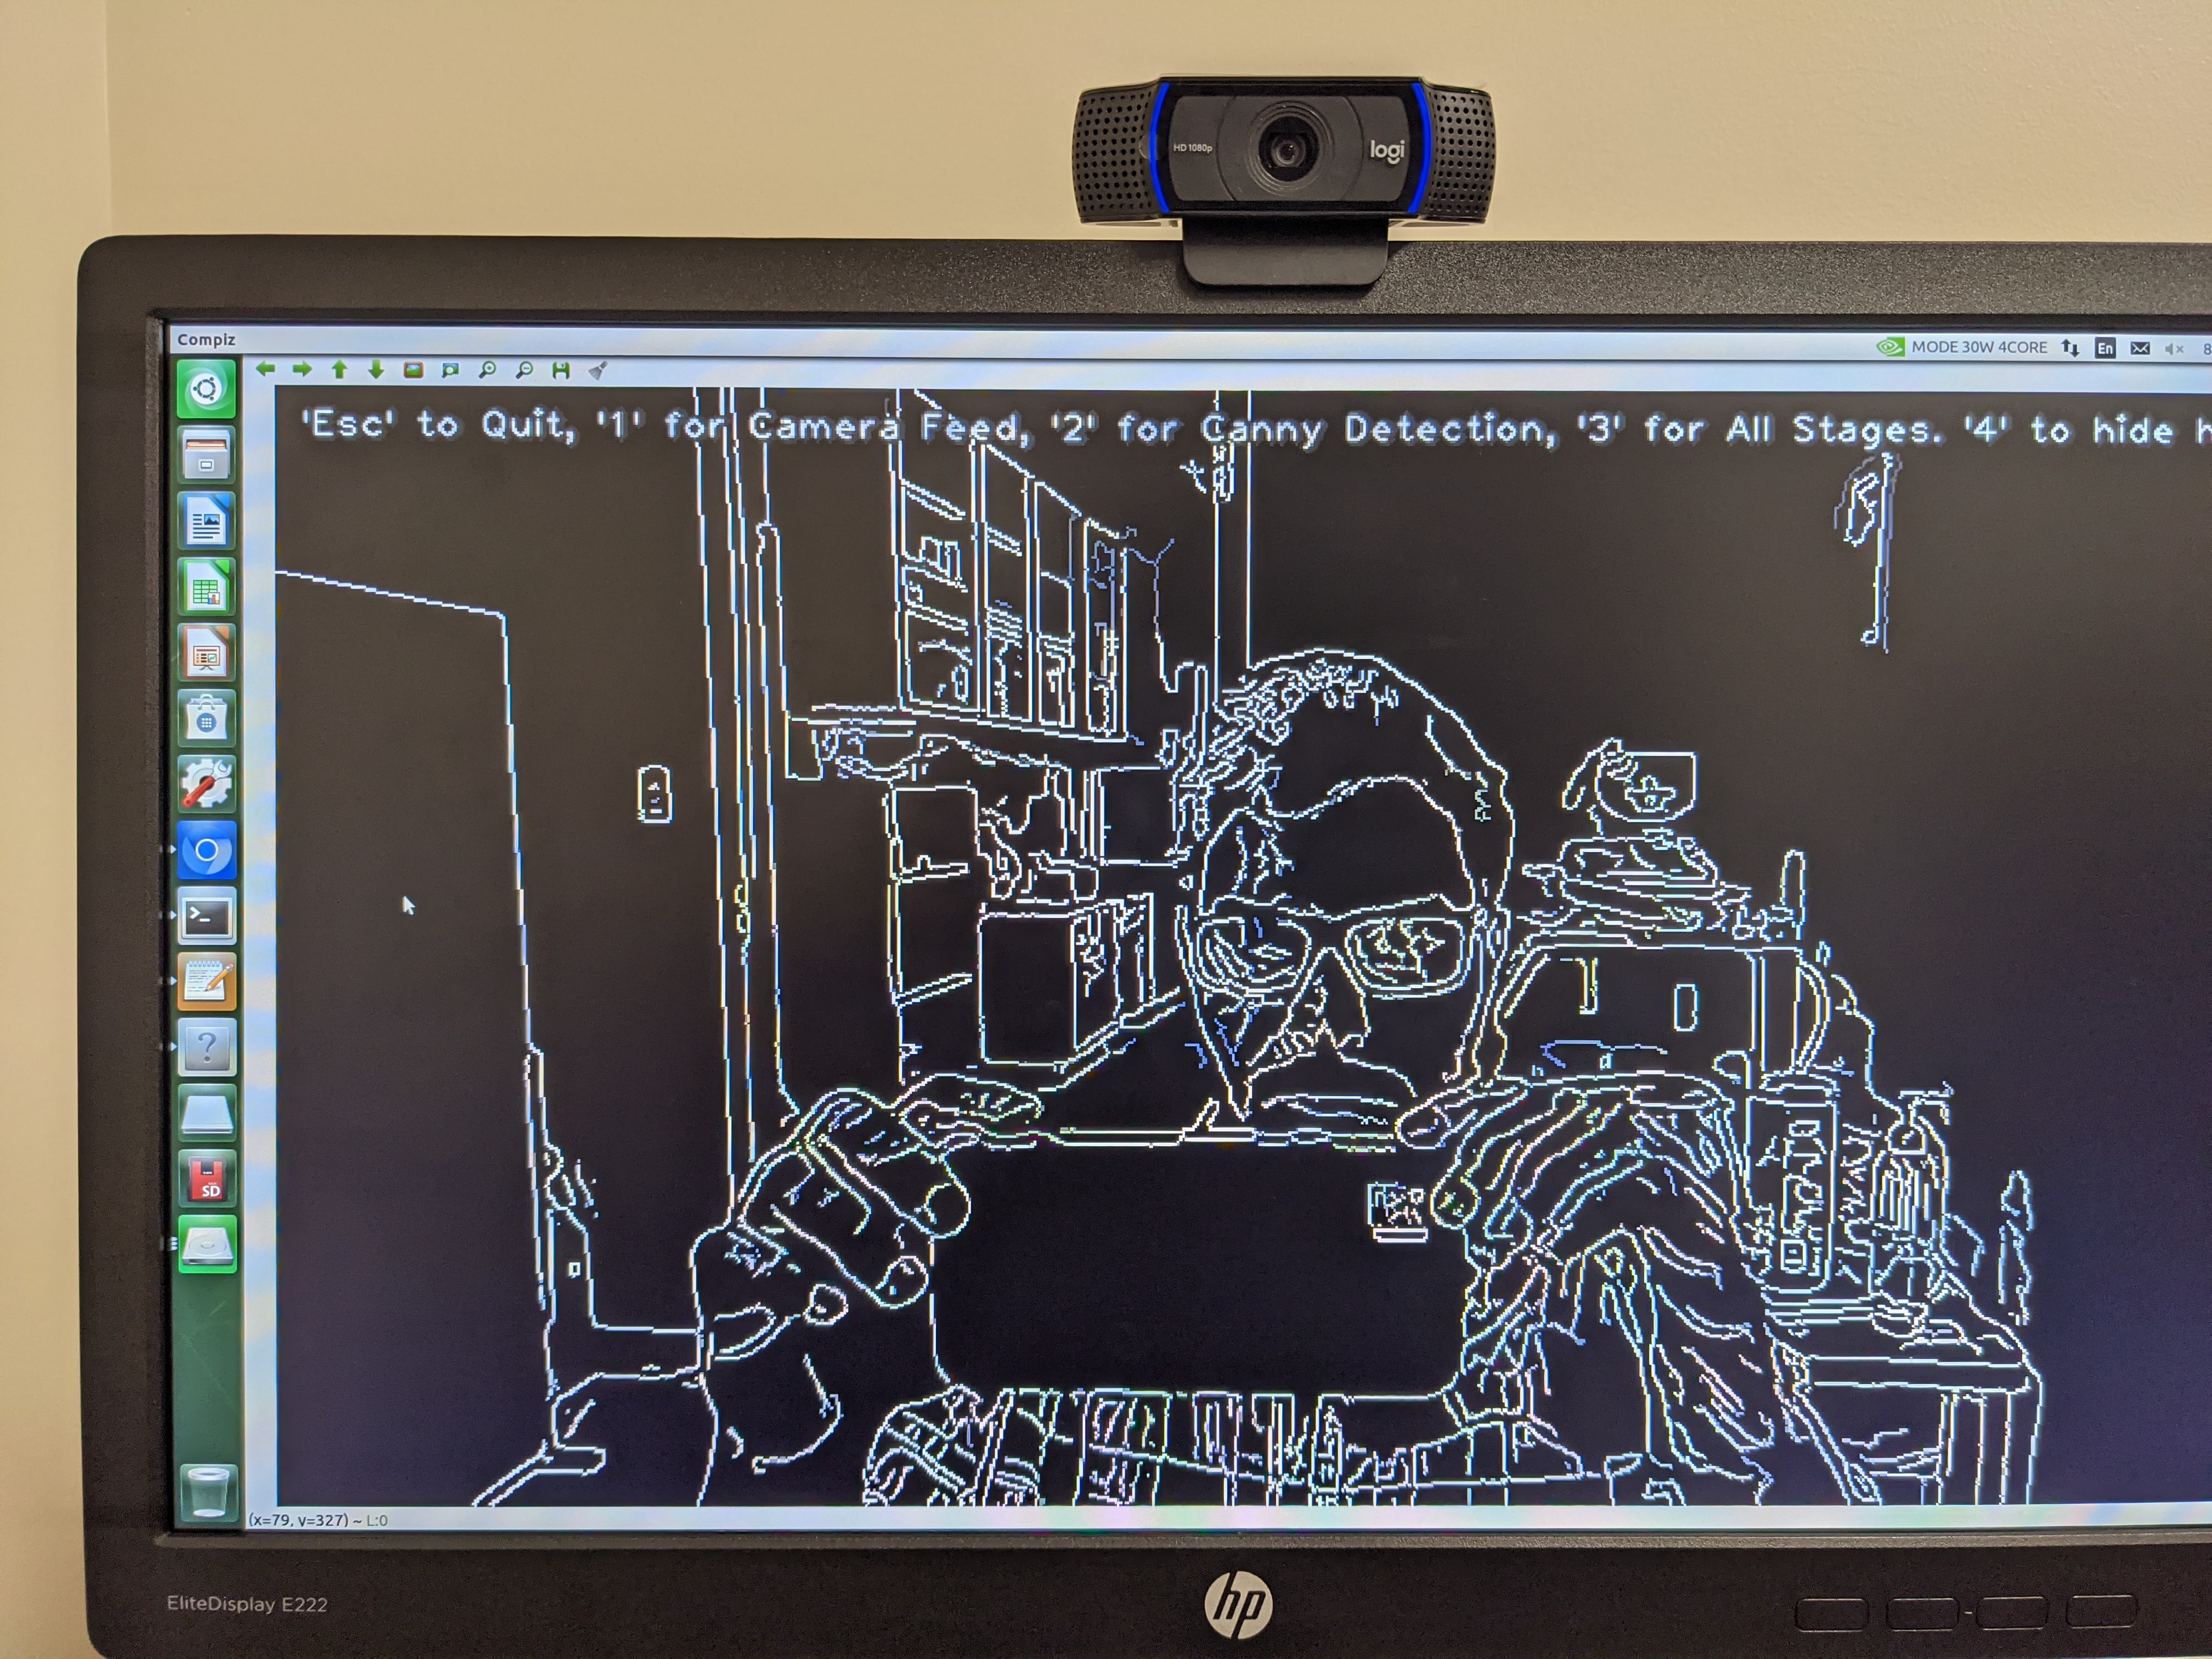
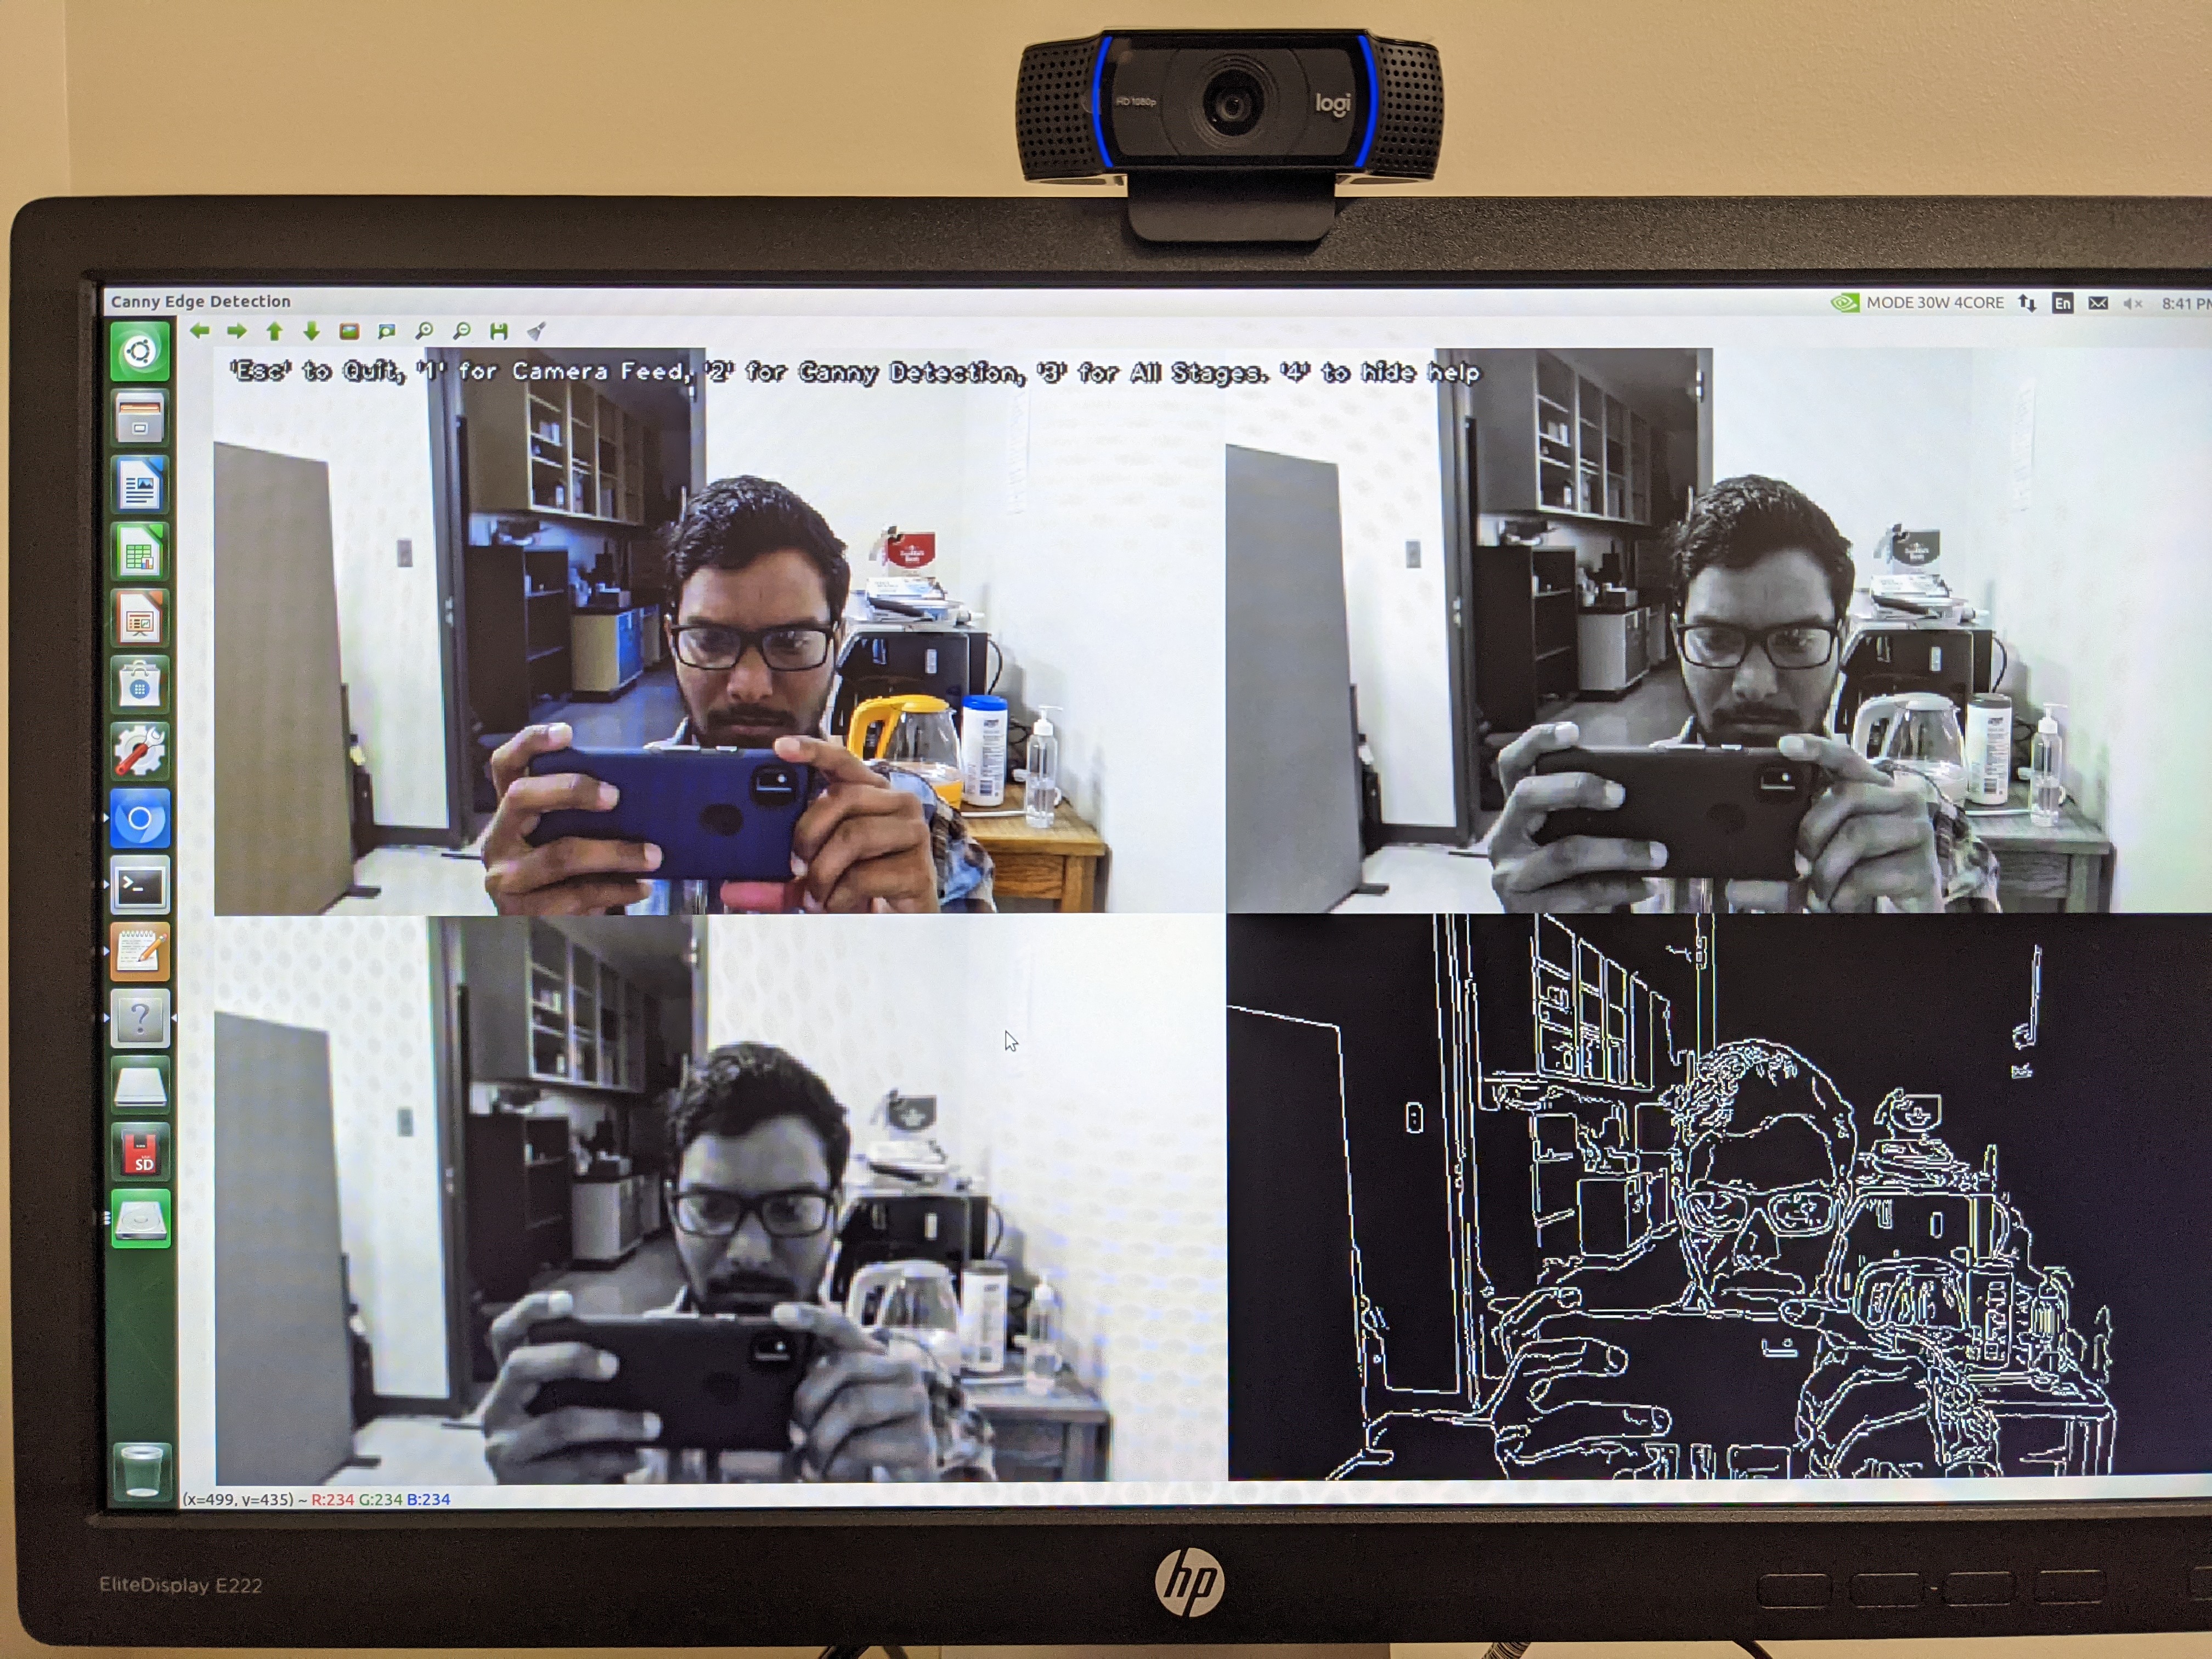
Now you will see *.sh file inside this folder by typing ls. Once confirmed, type, $ ./buildAndPackageOpenCV.sh (building takes about 50 mins or 1hr) Now you will notice opencv folder installed in your drive, migrate to build folder inside the same opencv folder, $cd.. — -> $cd opencv — -> $cd build Once in, type, $ sudo apt-get install cmake-curses-gui. This opens up a list of packages/dependencies for you to manually configure as you like. I don’t think this is a necessary step but as usual you can always explore! Deploying the real-time processing using a webcam. Now its all straightforward. Migrate to Examples folder inside the cloned repository, buildOpenCVXavier. Once in, you will see there’s already one program written for (as cloned from the repository!) you, called as, cannyDetection.py. This is a simple edge detection algorithm. This is important. If you are working on Jetson AGX Xavier, you will need to make a very minute change in the code to make it stream via USB Webcam. If you plan to use, TX2/Nano, I don’t think so that change is necessary. Therefore open the code, and look for these line,
``` Python file
def open_camera_device(device_number):
return cv2.VideoCapture(device_number),
Change device_number to 0 inside the curve bracket in the second line. This should let the GStreamer stream live video feed through your webcam. Once done, save and type this in the terminal,
-
$ ./cannyDetection.py — video_device 1.And you will see something like this (see below)


You can play around with this stuff, create your own image processing algorithms and deploy. Have fun!
Enjoy Reading This Article?
Here are some more articles you might like to read next: